
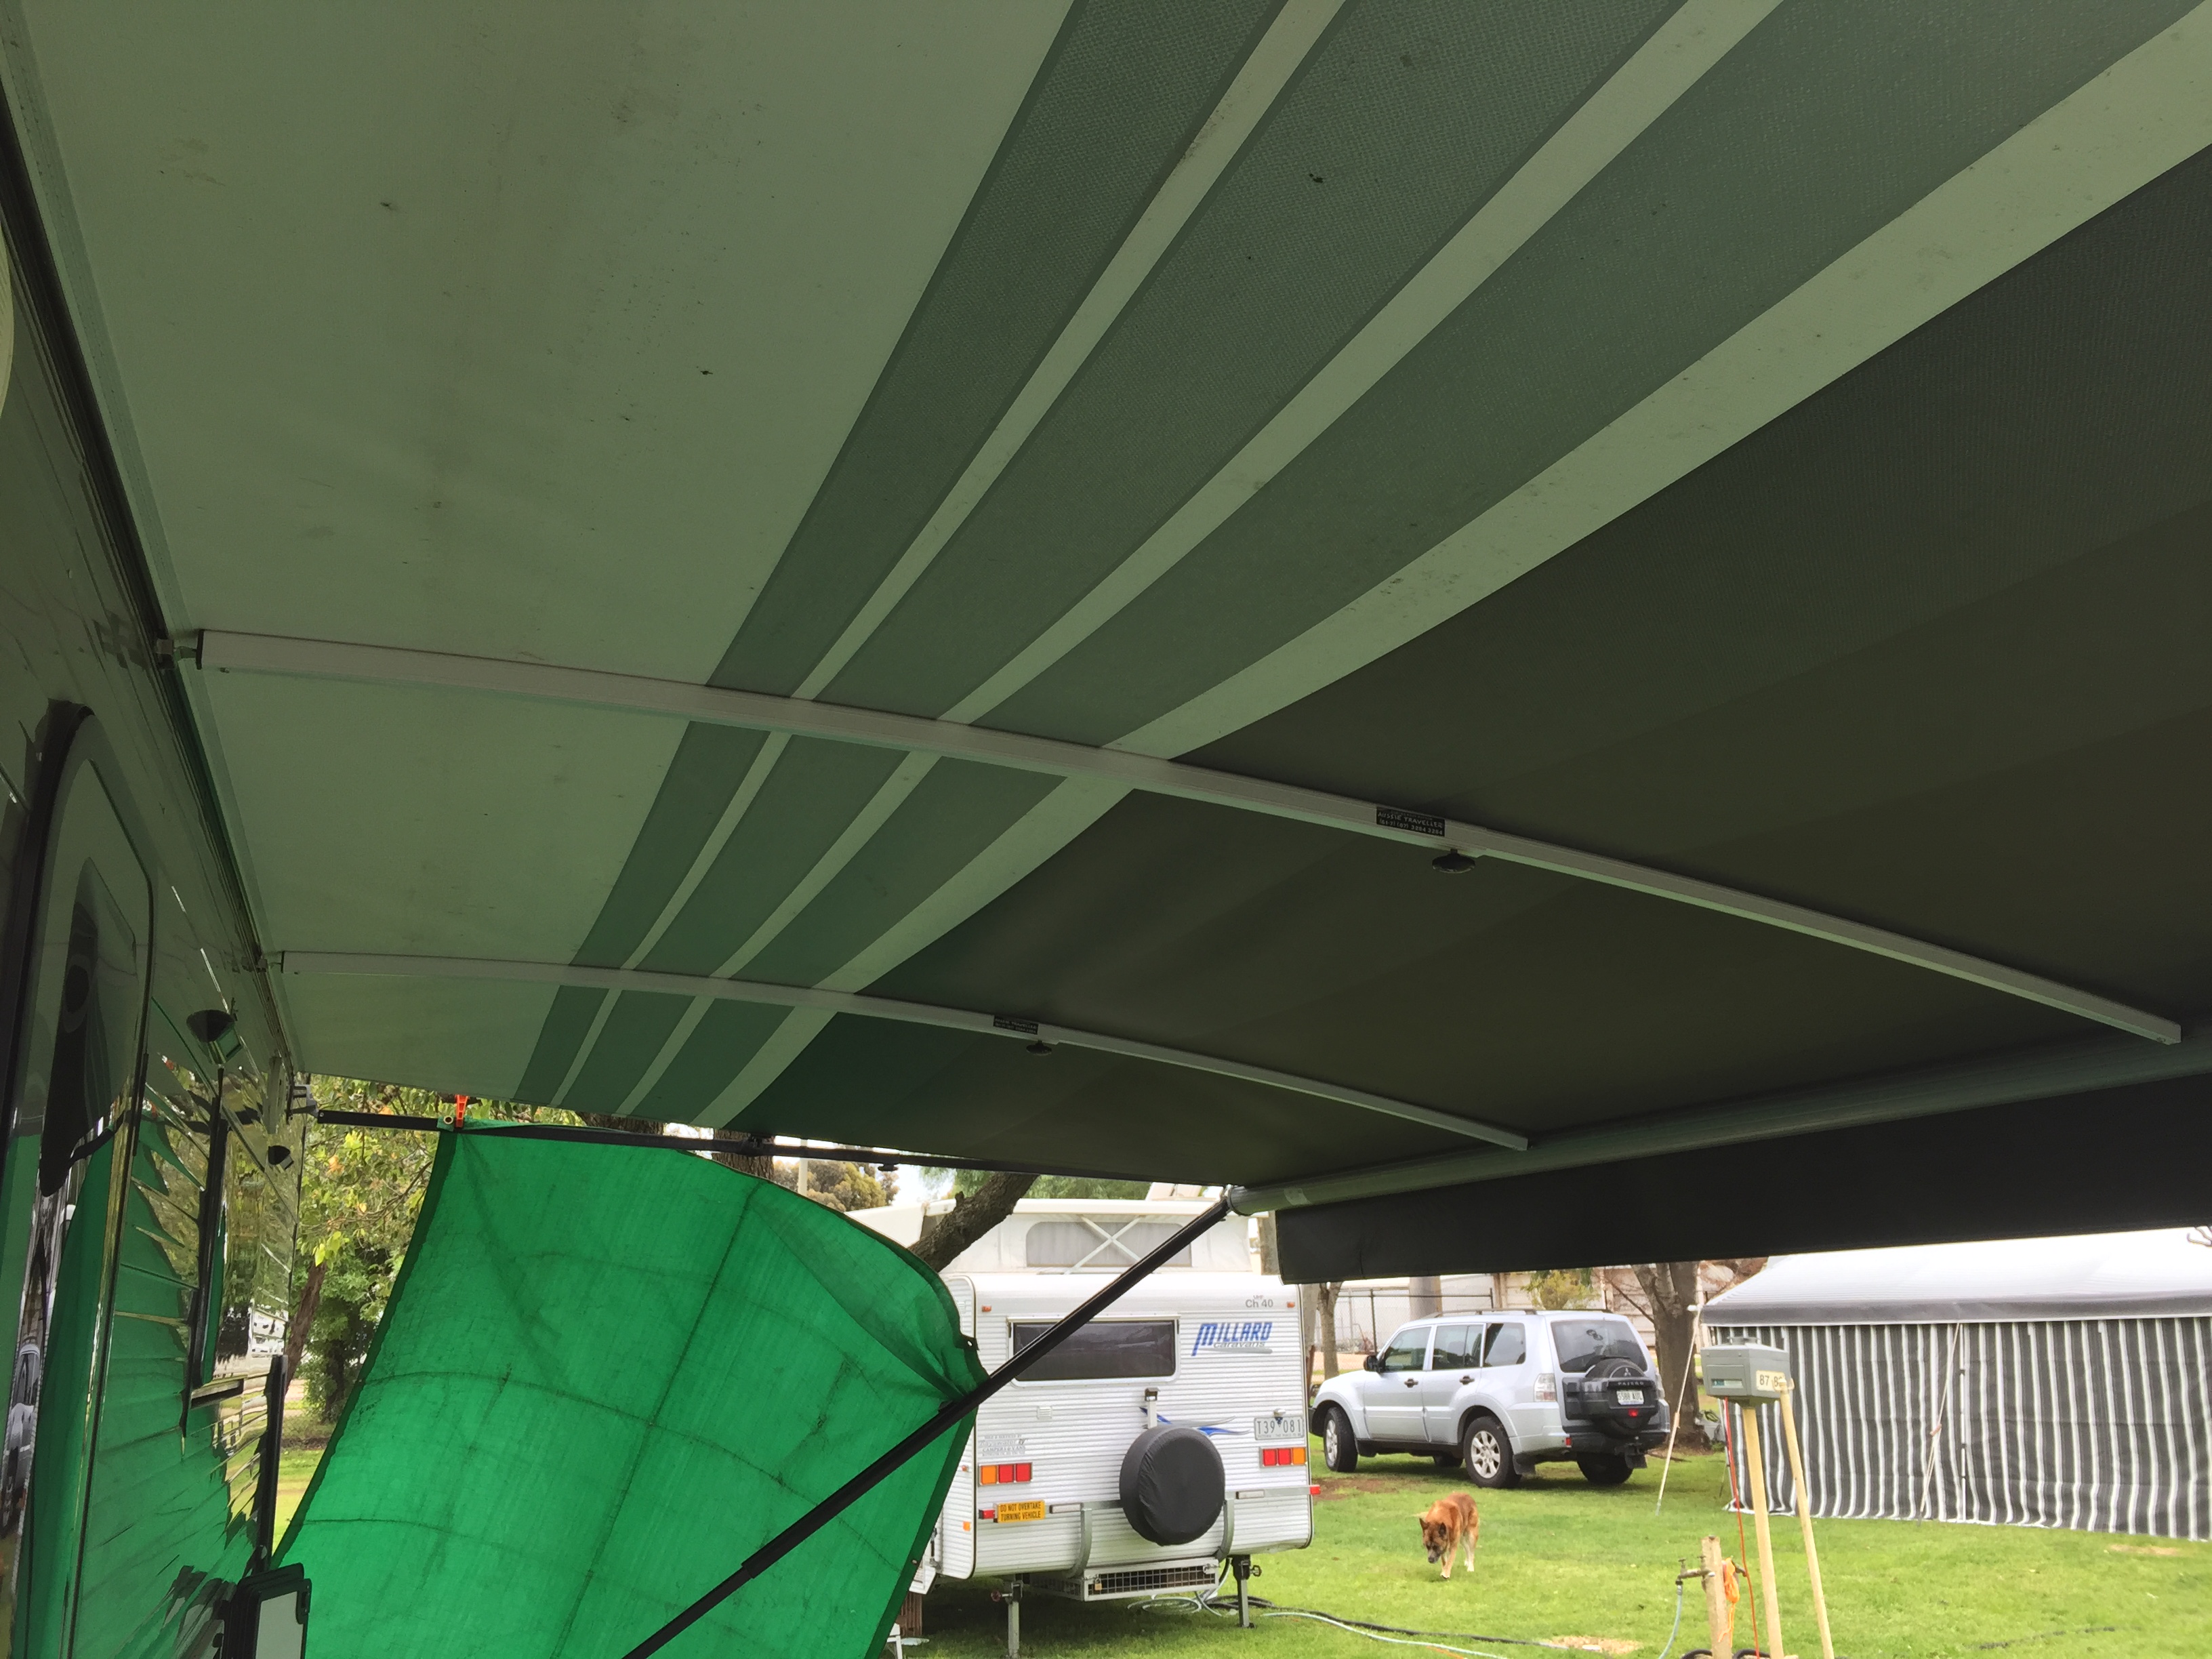
Today I had a bit of spare time to install a set of Aussie Traveller Awning Rafters. Yes….I did it myself.
I’m reasonably handy with most DIY projects however the prospect of drilling holes into our near new caravan was not a task I was looking forward to. One stuffed up measurement and I could have ended up with a hole or two where they shouldn’t be.
There’s a golden rule in any DIY project; measure twice, drill once. It’s a good mantra to have especially with this install.
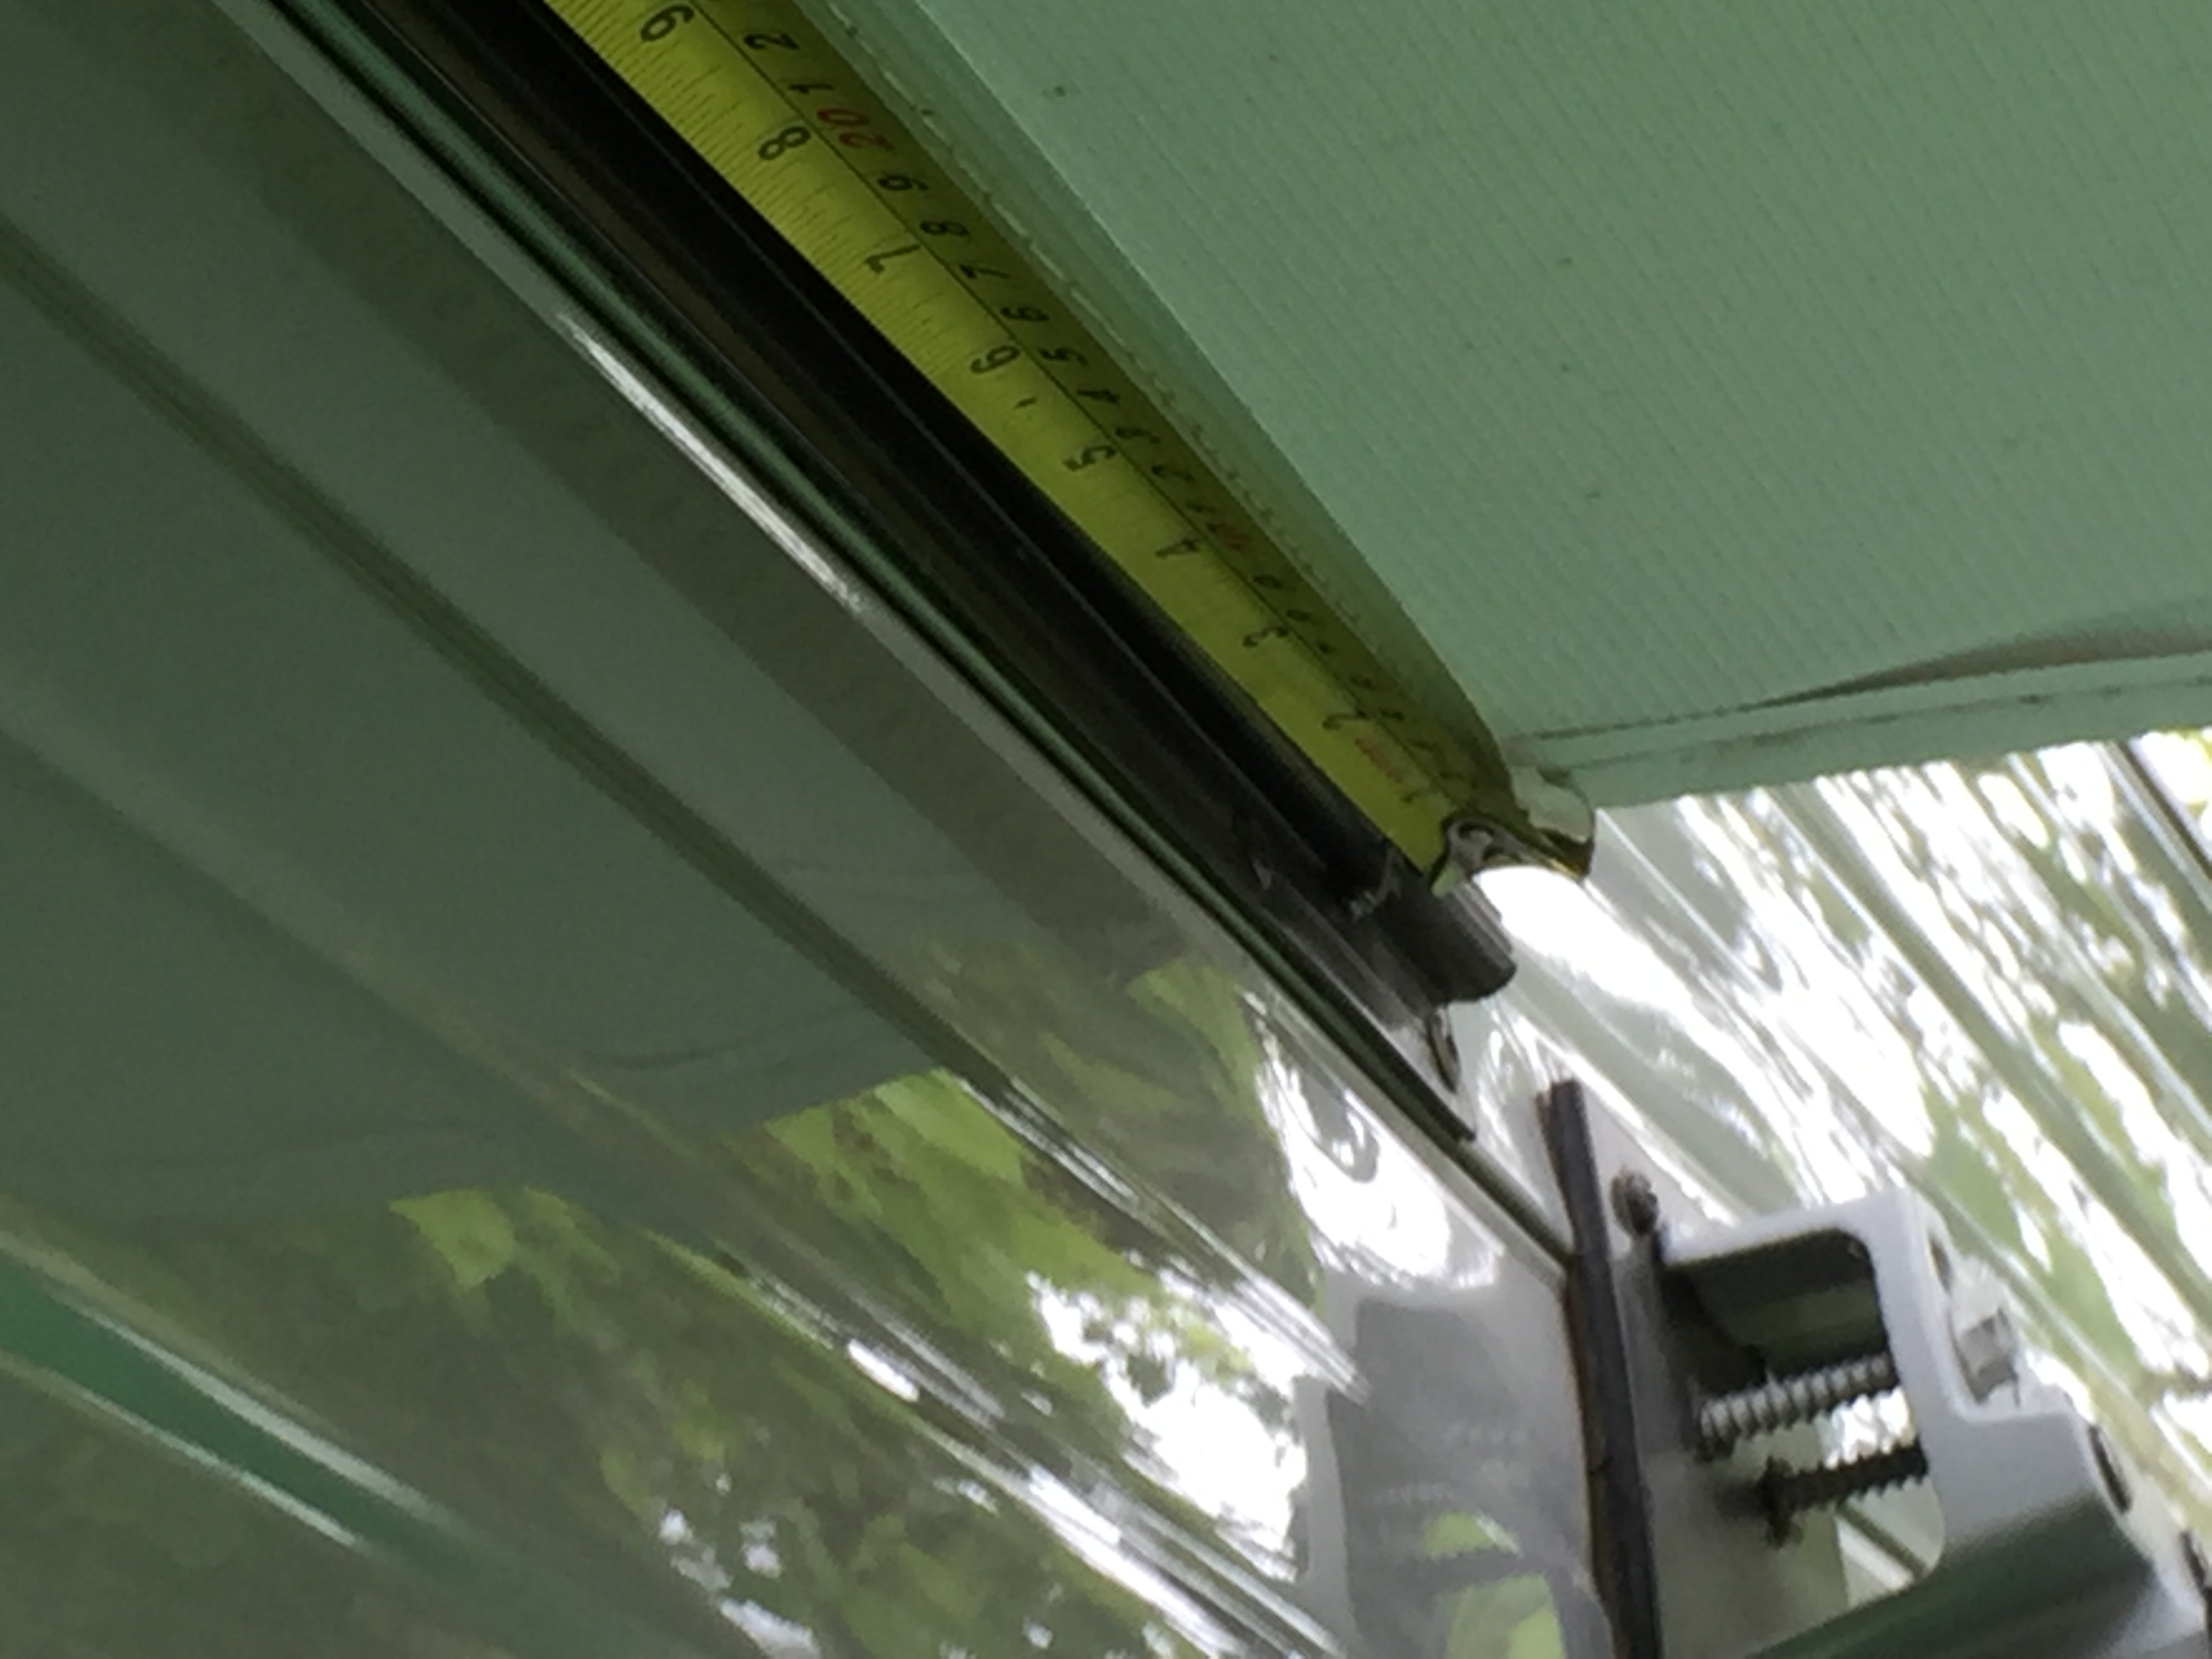 Step 1: Measure out the rafter positions. Depending on the number of rafters you need to install, you need to measure out where they will go. I was installing 2 rafters so I needed two equal distant spaces. I measured from the edge of the awning material itself as this correlates back to the roller perfectly ensuring both ends line up.
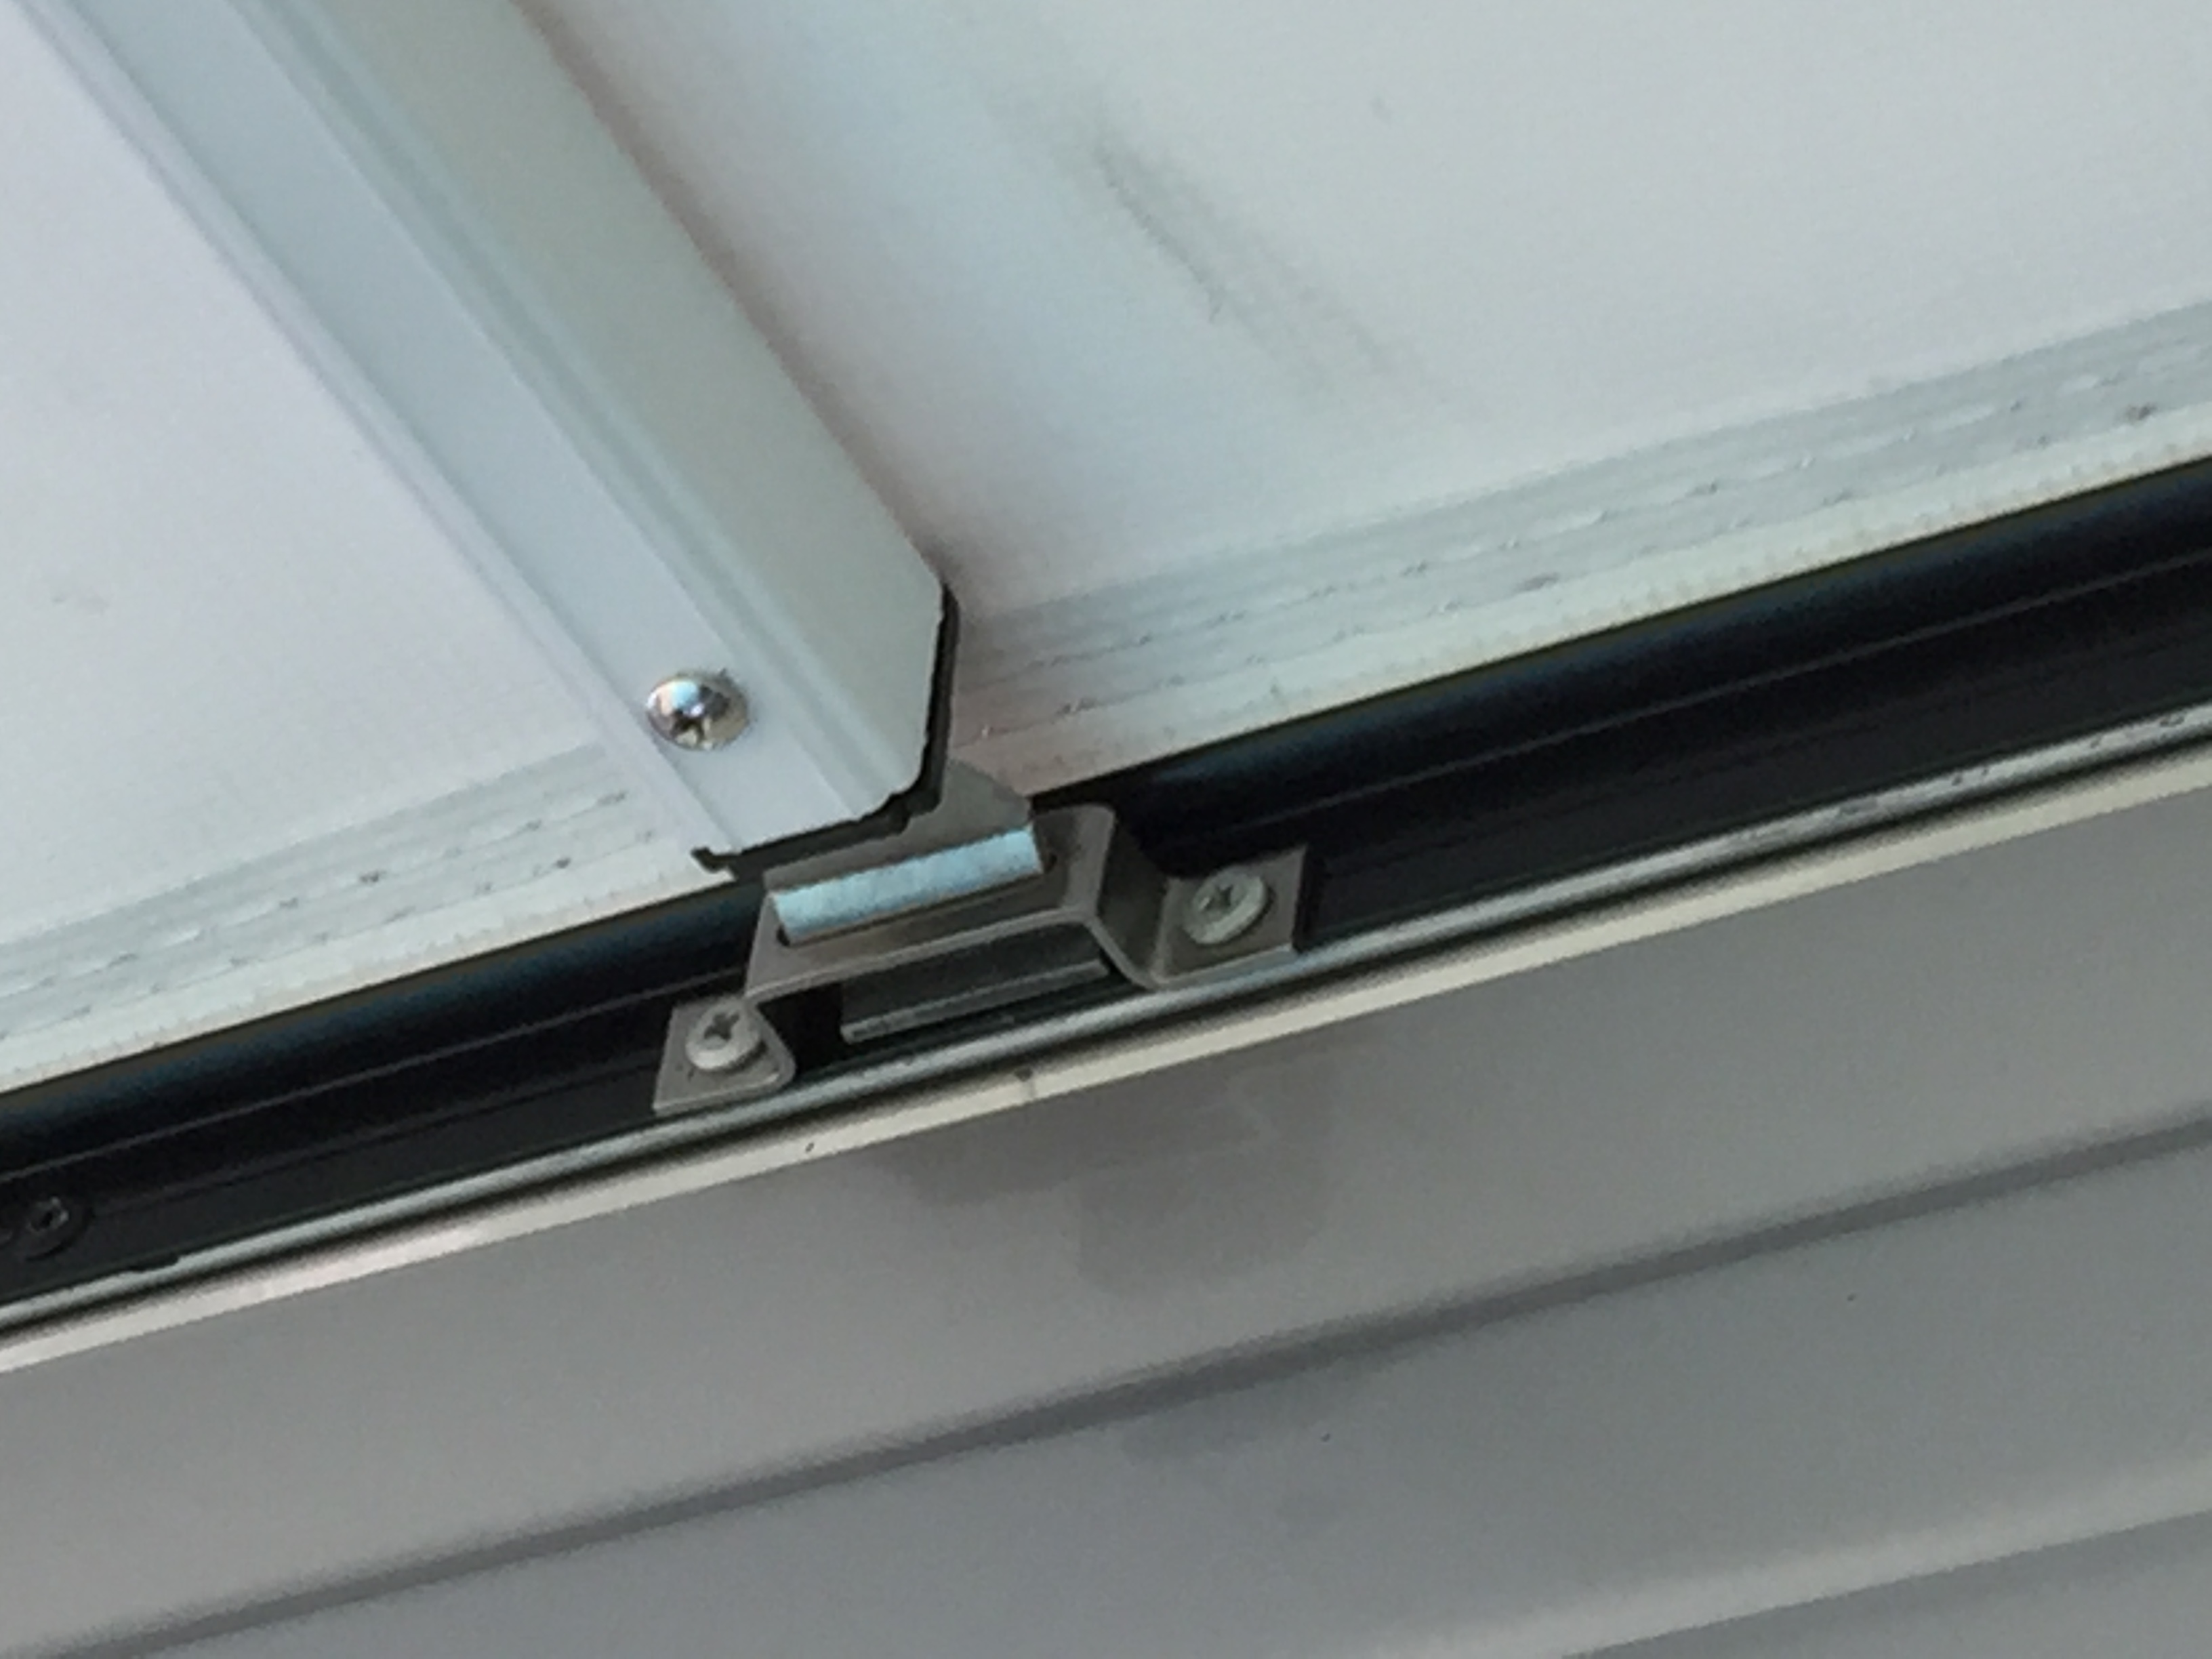
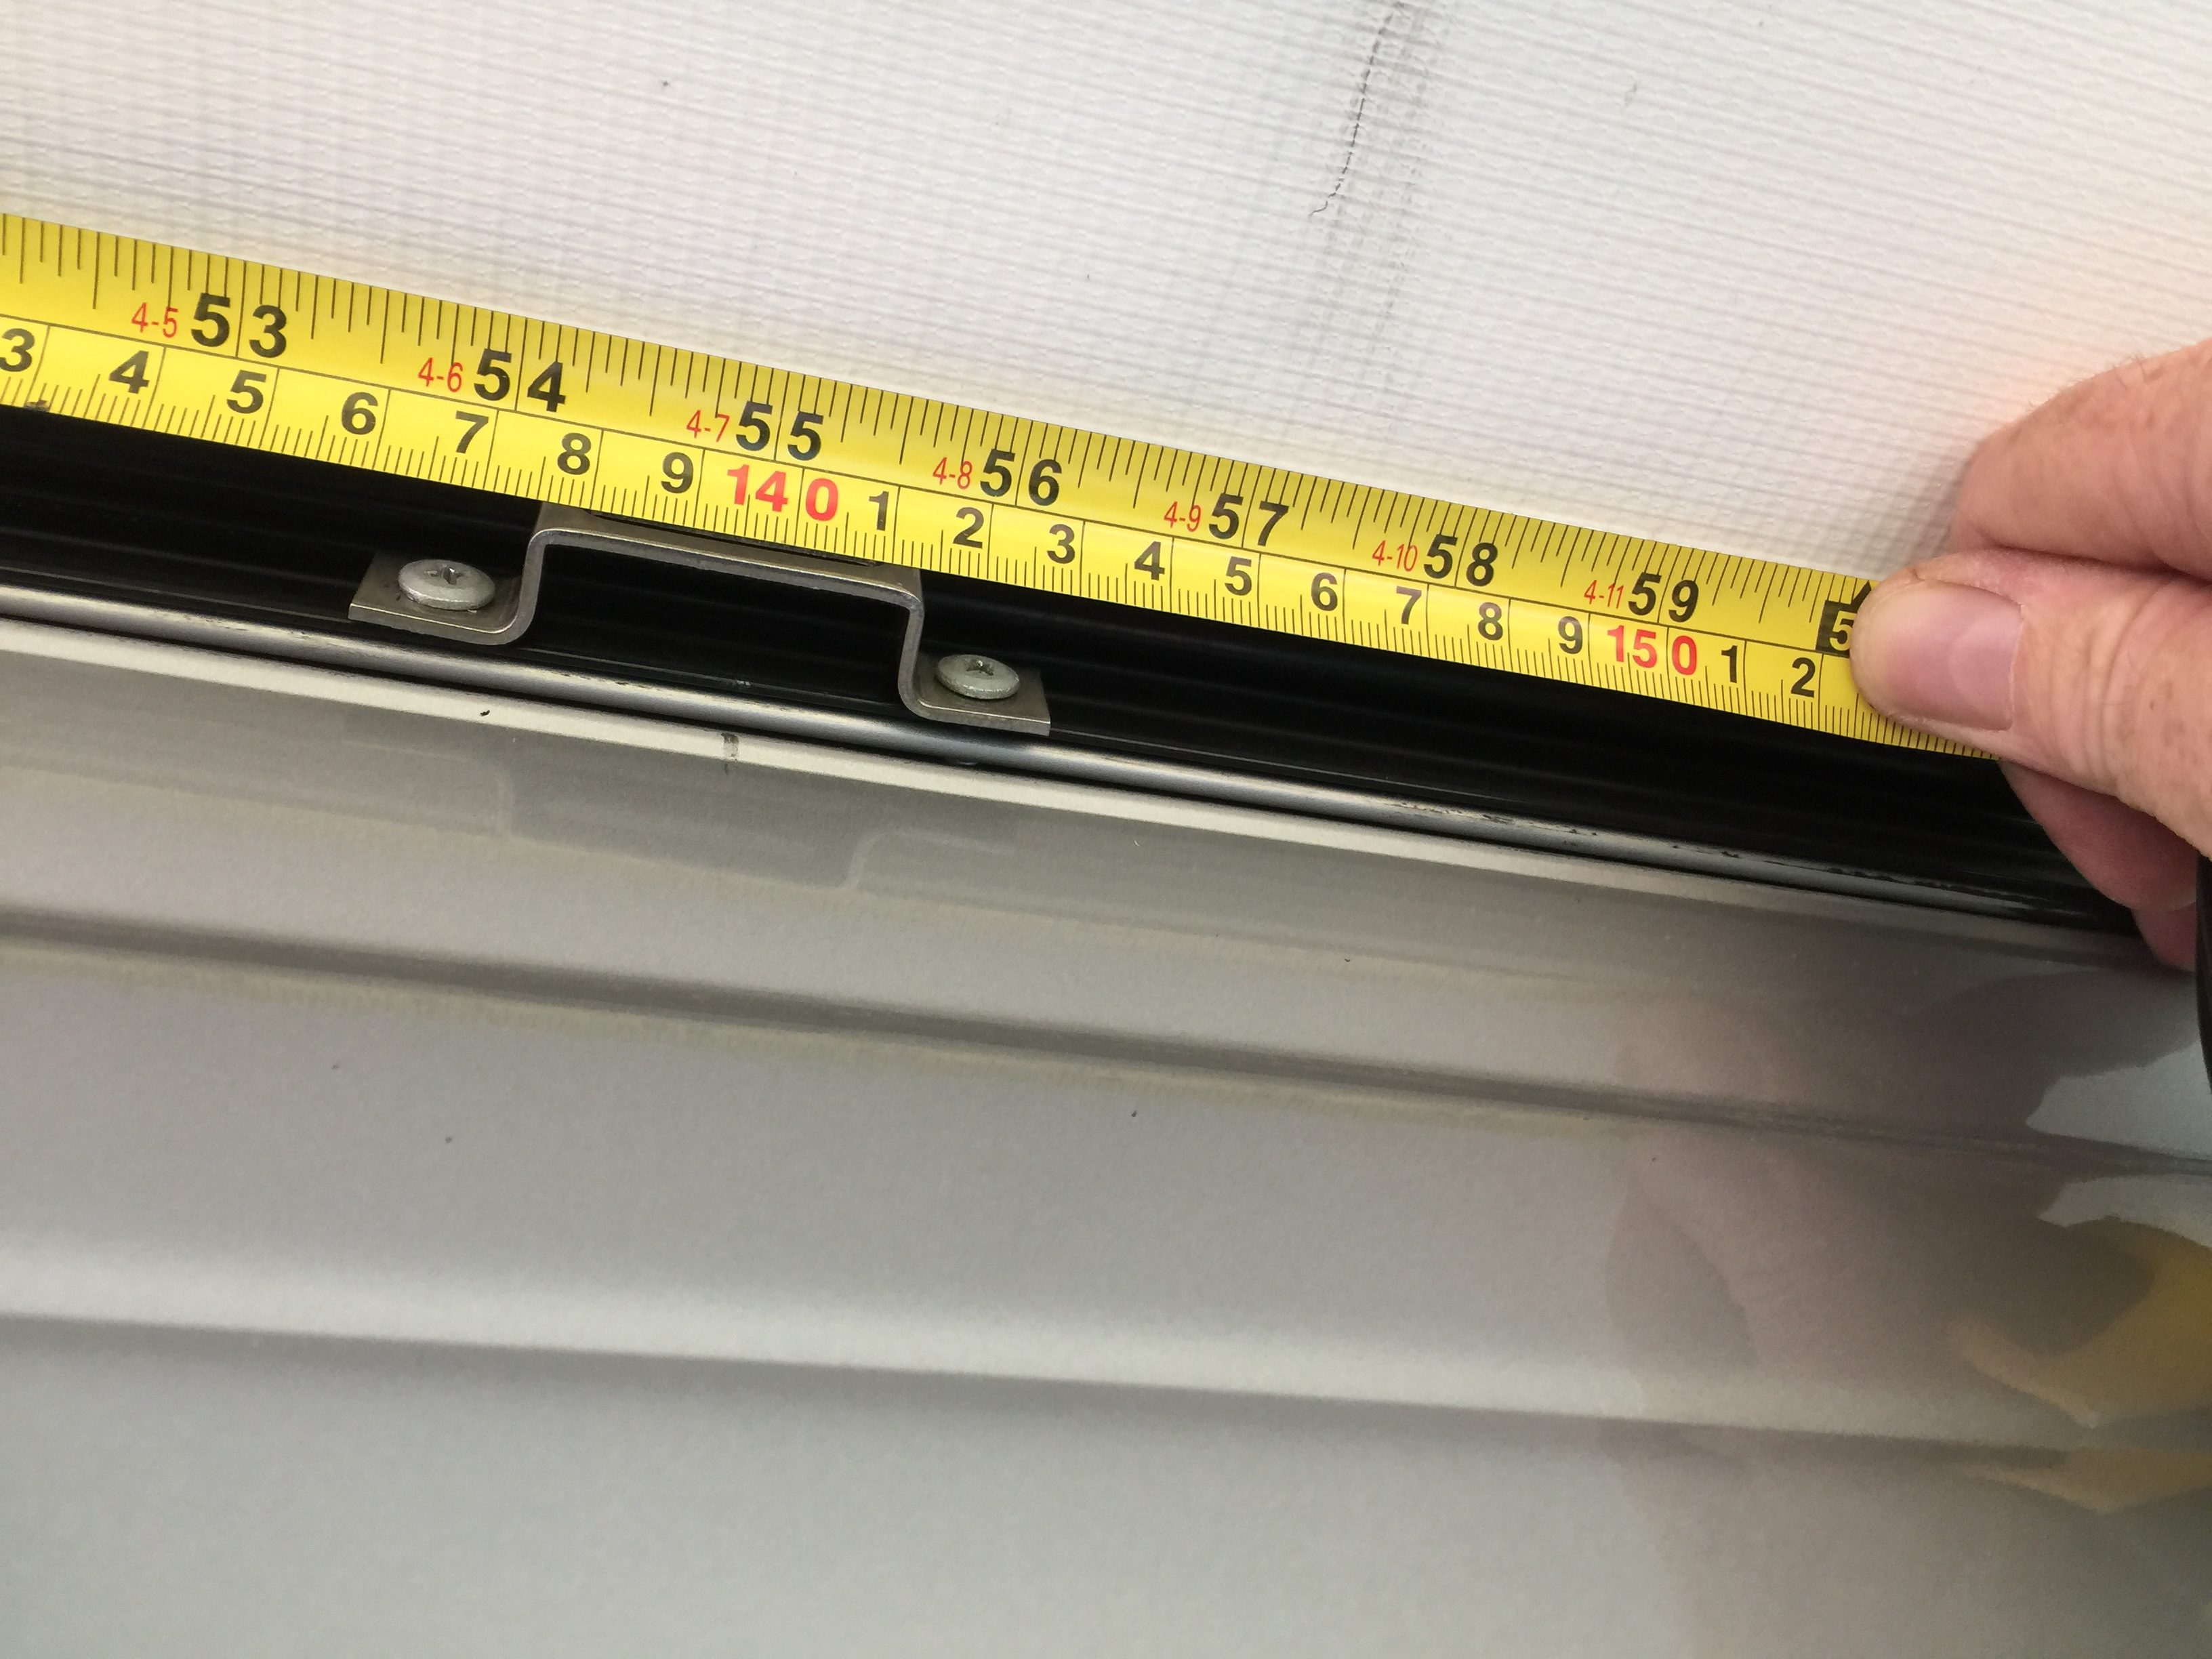 Step 2: Screw in the bracket. The instructions say that you need to ensure the bracket is about 2.5cm lower than the awning itself. I found that this was not so critical and I just screwed my brackets into the metal strip that secures the awning itself. I figured the panel behind it had already been drilled into so it was a safe bet that I could drill in line with the rivets without hitting any wires. If you’re not sure, drill your holes very slowly so as to control the drill when it reaches the inside edge of the panel. The kit came with wood screws but given I was screwing into metal, I used my own self drilling sheet metal screws. I drilled pilot holes first just to be sure.
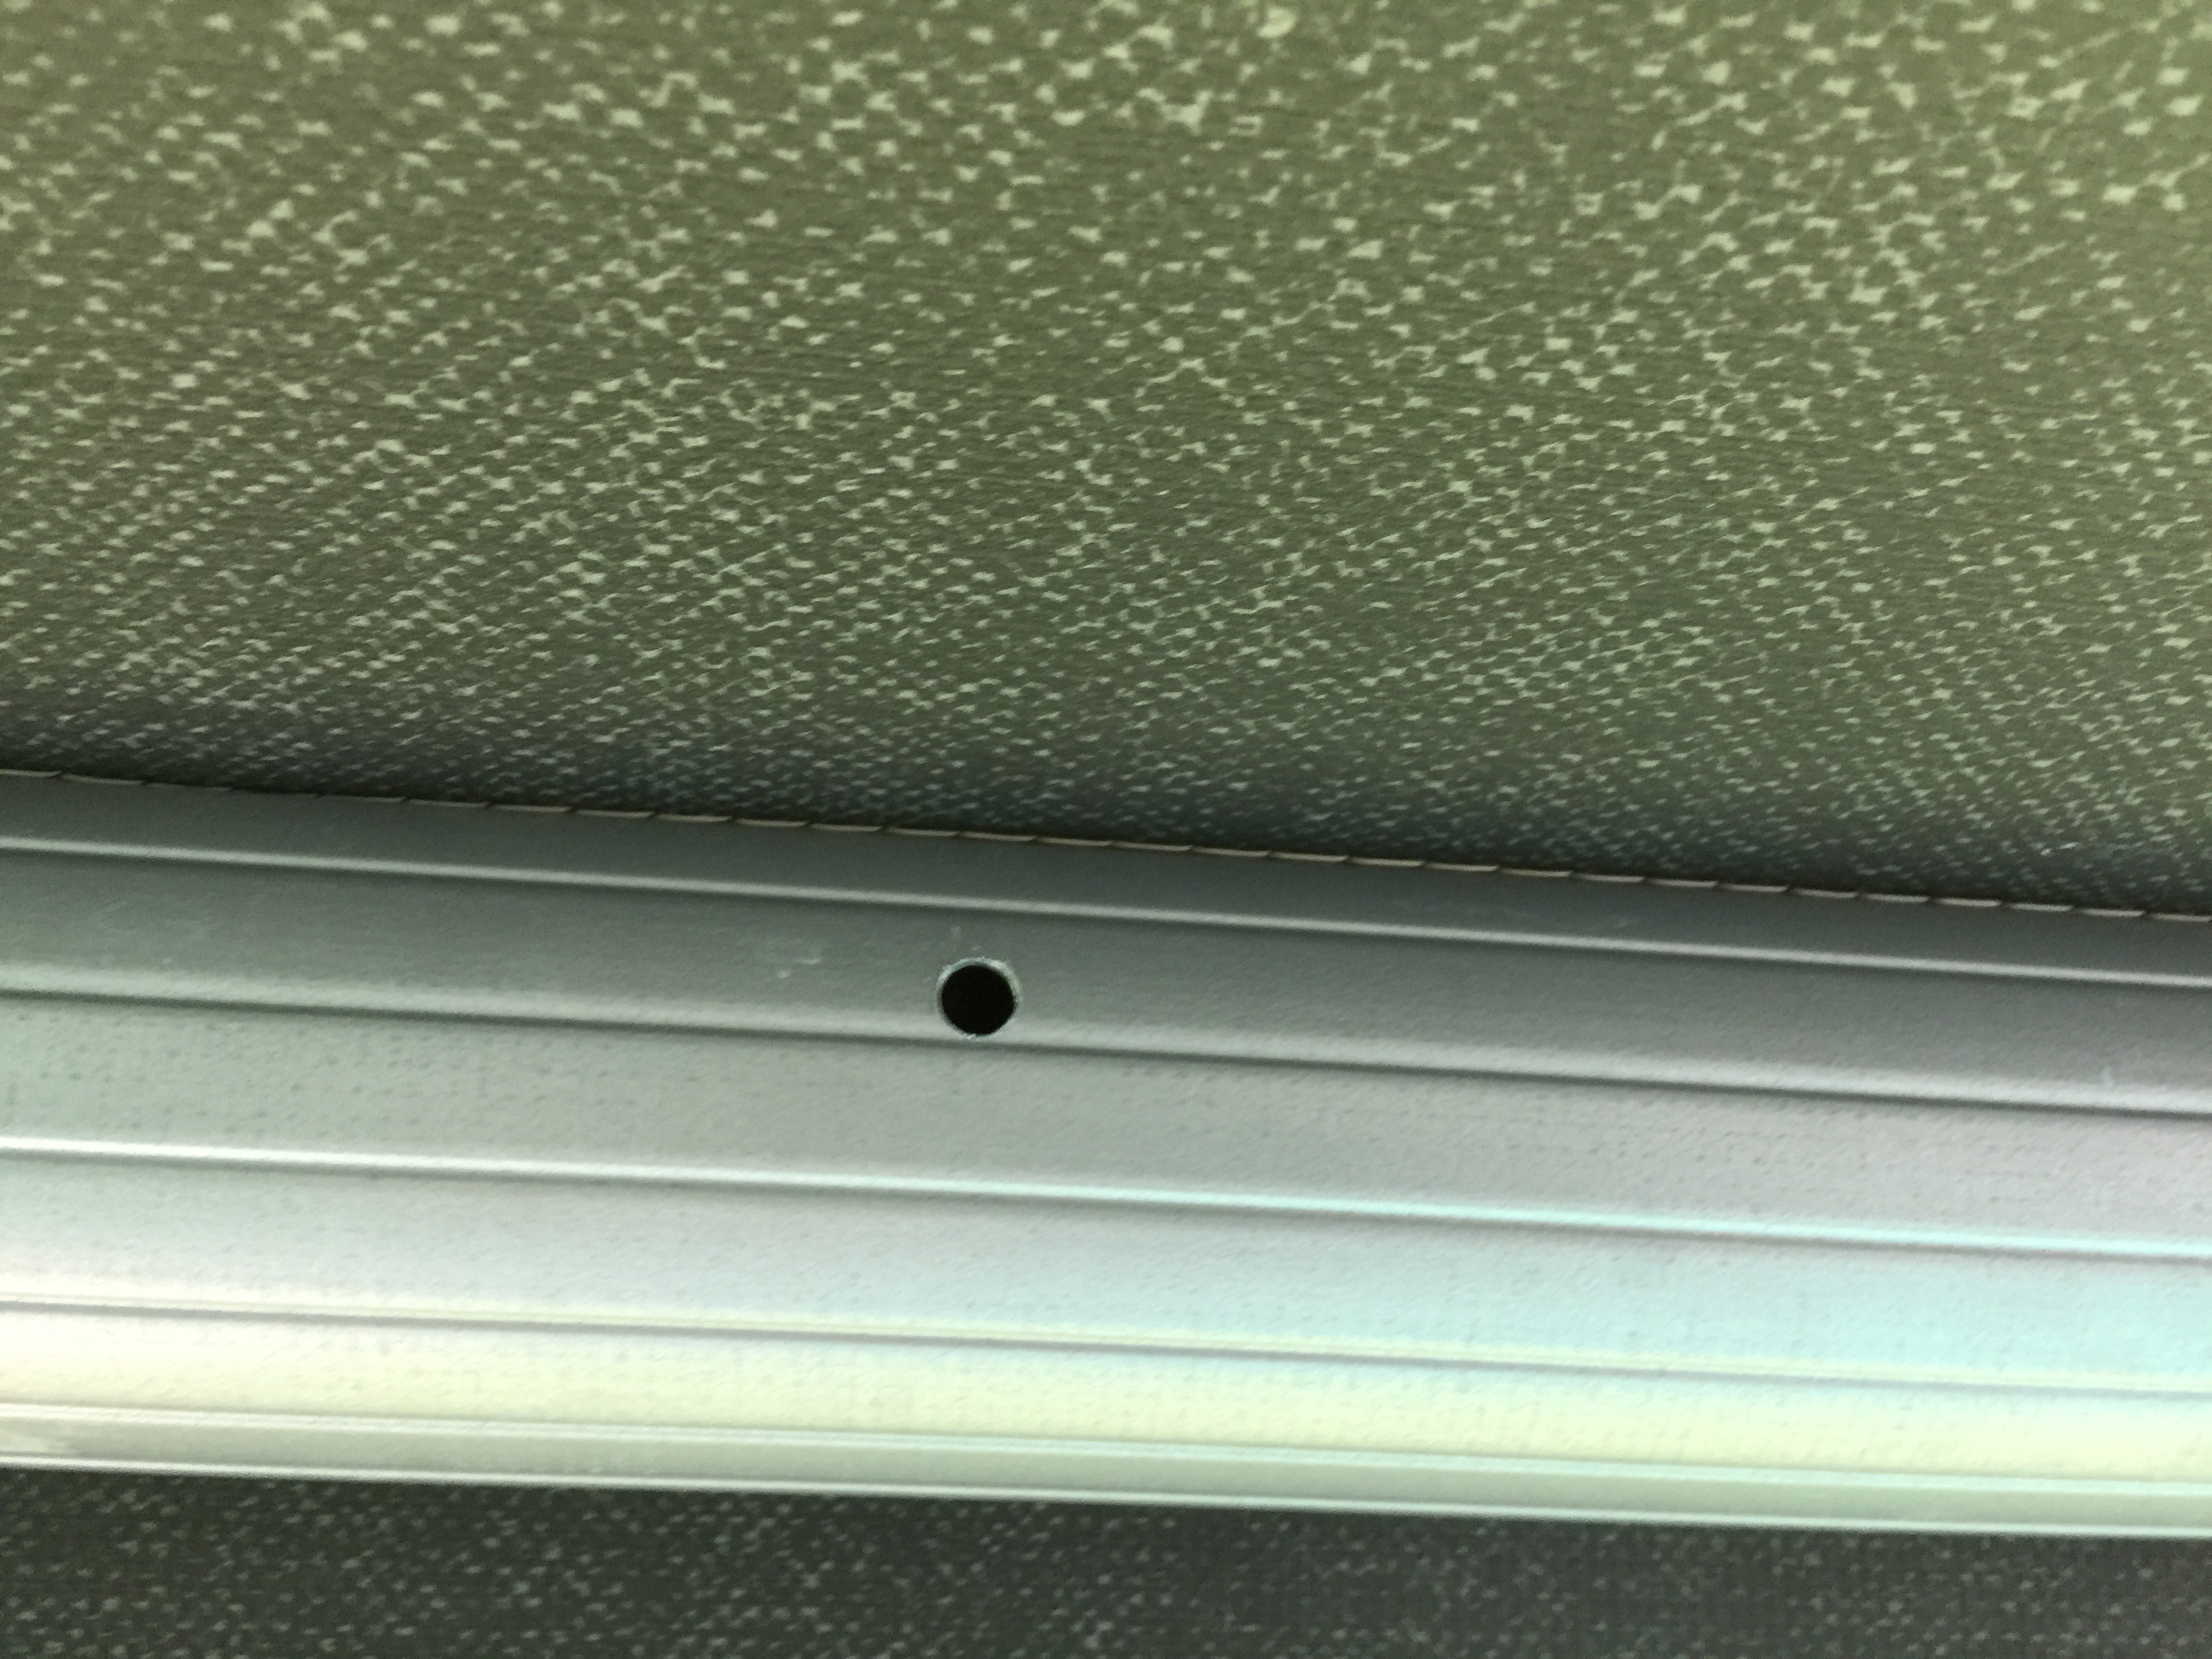
Step 3: Drill the holes in the roller. Before drilling the holes, install the rafter at the van wall end and check to see the place you’ve market for the hole in the roller lines up. Again, the instructions show the holes being drilled above the grove where the shade slips in. This was not going to work for us so I just ensured the awning was completely unrolled and drilled the hole in the same approximate position.

That’s it. Job done. It really is a simple install anyone can do. We’re expecting some rain and wind tonight so it will be interesting to see how it holds up. So far it feels very solid and with the assistance of ratchet strap tie downs, I expect it will survive pretty severe conditions.
Safe travels